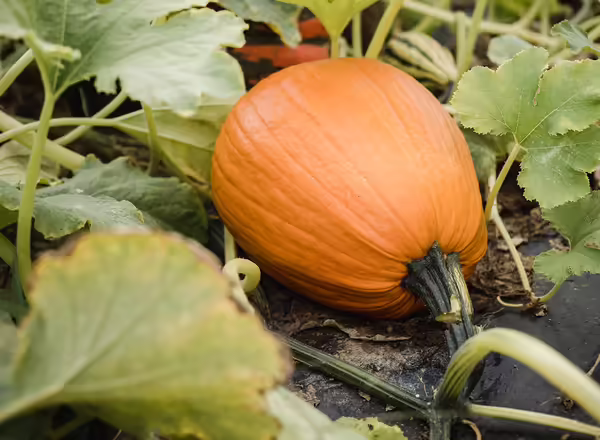
Pumpkin is at their peak when they are mature, firm, bright-colored and have a hard rind. Harvest before the first frost. A pumpkin is ready for harvest when the rind is hard enough to resist fingernail scratches.
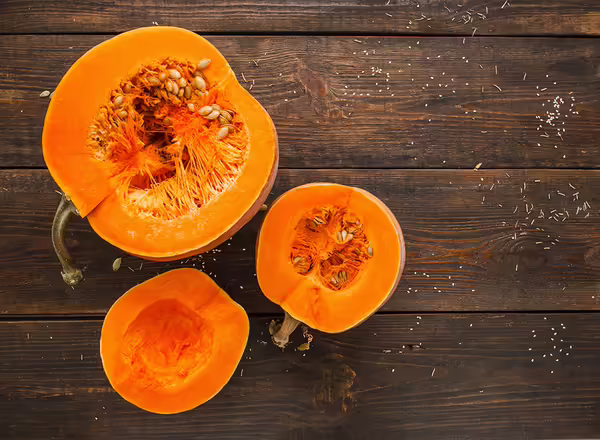
Before using pumpkins, check the rind for soft spots or bruising which indicates spoilage. Wash the outside with cool running water. Remove all soil. Always wash pumpkins before cutting into the flesh as bacteria can be transferred from the outside to the inside through cutting. Use a clean sharp knife, sharp knives reduce the risk of injury.
Cutting Safety
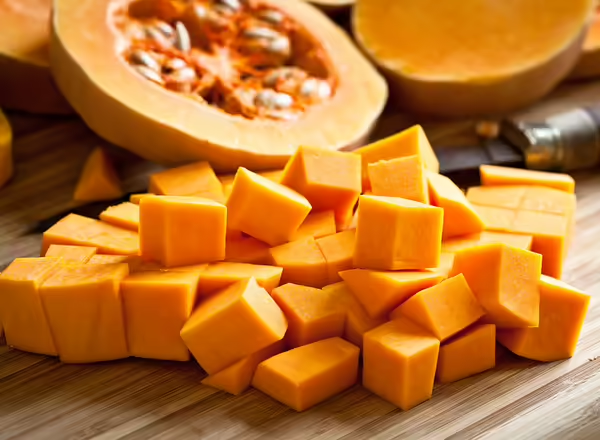
Pumpkin flesh is quite hard and can be tricky to cut safely. One way around this difficulty is to bake the pumpkin whole on a baking sheet until it is soft and easier to cut. To do this, prick holes in the pumpkin first and bake at 350°F for about 1 hour. Once soft, allow the pumpkin to cool, cut it in half, remove the seeds and stringy pith with a spoon, then scoop the orange or yellow flesh from the skin. This cooked flesh can be used whenever pumpkin puree is called for: pumpkin pie, pumpkin soup, pumpkin bread.
Preserving Pumpkins
According to the National Center for Home Food Preservation, historical USDA documents providing directions for canning mashed or pureed pumpkin were withdrawn in 1989 because research found that there was too much variation in viscosity or thickness of pumpkin purees to determine a single processing recommendation. Beware of social media sites or blogs highlighting the autumn season with recipes for canning pureed pumpkin or pumpkin butter as these are not evidence-based and therefore not safe for use. Individuals may also be citing outdated recipes or methods now considered unsafe for home canning.
Canning
Pumpkins are a low acid food and when pureed, are too thick for home pressure canners to heat high enough to kill potential toxins. While canning is not recommended, pumpkin puree or butter can be made fresh, stored in the fridge and eaten within three to four days. Canning pumpkin chunks can be done safely at home using a pressure canner and cutting the pumpkin into 1 inch cubes. Find tested instructions for pressure canning cubed pumpkin from the National Center for Home Food Preservation. Pumpkin can also be safely frozen by boiling, steaming or baking it and then freezing the cooked pumpkin in freezer-safe containers.
Freezing
To freeze pumpkin, Wash, cut into cooking-size sections and remove seeds. Cook until soft in boiling water, in steam, in a pressure cooker or in an oven. Remove pulp from rind and mash. To cool, place pan containing pumpkin in cold water and stir occasionally. Package, leaving ½-inch headspace. Seal and freeze.
Roasting Seeds
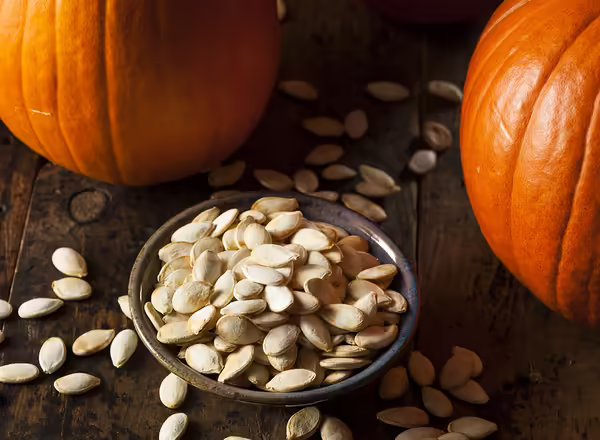
Don’t forget to enjoy the pumpkin seeds. Drying seeds and roasting seeds are two different processes. To dry, carefully wash pumpkin seeds to remove the clinging fibrous pumpkin tissue. Pumpkin seeds can be dried in the sun, in a dehydrator at 115-120ºF for 1 to 2 hours, or in an oven on warm for 3 to 4 hours. Stir them frequently to avoid scorching.
After drying, roast pumpkin seeds, tossing with oil and/or salt and roast in a preheated oven at 250ºF for 10 to 15 minutes. Mix 2 cups dry seeds, ½ teaspoon Worcestershire sauce, 1½ tablespoons melted butter and 1 teaspoon salt. Place in a shallow baking pan and roast (1 hour at 250°F; 30 minutes at 275°F; or 10–15 minutes at 300°F). Be sure to stir the seeds frequently as they roast.
Place the cooled seeds in a plastic bag and store. For long-term storage, keep it in the refrigerator or freezer. The seeds will become rancid if stored at room temperature for long periods of time.
Drying
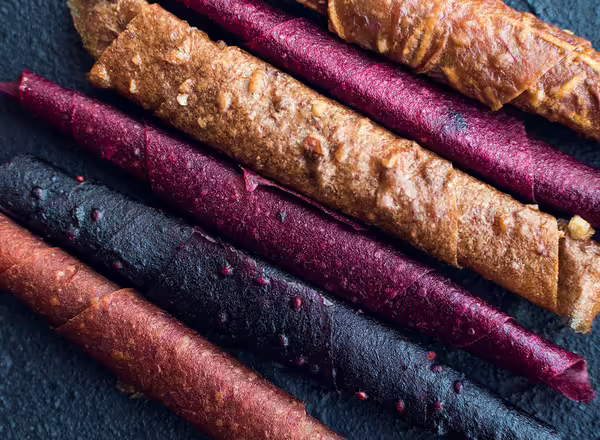
Pumpkin can be enjoyed through making fruit leather. Fruit leathers are homemade fruit rolls. They are a tasty chewy, dried fruit product. Fruit leathers are made by pouring pureed fruit onto a flat surface for drying. When dried, the fruit is pulled from the surface and rolled. It gets the name "leather" from the fact that when pureed fruit is dried, it is shiny and has the texture of leather.
The advantages of making your own fruit leathers are to save money use less sugar and to mix fruit flavors. Leftover fruit pulp from making jelly can be blended and made into fruit rolls. Follow the quick and easy steps below from National Center for Home Food Preservation to make pumpkin leather.
Preparing the Trays
For drying in the oven, a 13" X 15" cookie pan with edges works well. Line pans with plastic wrap being careful to smooth out wrinkles. Do not use waxed paper or aluminum foil.
To dry in a dehydrator, specially designed plastic sheets can be purchased, or plastic trays can be lined with plastic wrap.
Pouring the Leather
Fruit leathers can be poured into a single large sheet (13" X 15") or into several smaller sizes. Spread puree evenly, about 1/8-inch thick, onto the drying tray. Avoid pouring puree too close to the edge of the cookie sheet. The larger fruit leathers take longer to dry. Approximate drying times are 6 to 8 hours in a dehydrator, up to 18 hours in an oven and 1 to 2 days in the sun.
Drying the Leather
Dry fruit leathers at 140ºF. Leather dries from the outside edge toward the center. Test for dryness by touching center of leather; no indentation should be evident. While warm, peel from plastic and roll, allow to cool and rewrap the roll in plastic. Cookie cutters can be used to cut out shapes that children will enjoy. Roll, and wrap in plastic.
Chances are the fruit leather will not last long enough for storage. If it does, it will keep up to 1 month at room temperature. For storage up to 1 year, place tightly wrapped rolls in the freezer.
Pumpkin Leather
- 2 cups pumpkin or squash, cooked and pureed
- ½ cup honey or brown sugar
- ⅛ teaspoon nutmeg
- ⅛ teaspoon powdered cloves
- ¼ teaspoon cinnamon
Blend all ingredients well. Spread on a lightly oiled drying sheet or cookie sheet lined with plastic wrap. Dry at 140°F in a dehydrator or oven.
To add interest to your fruit leathers, spices, flavorings or garnishes can be added.
- Spices to Try — Allspice, cinnamon, cloves, coriander, ginger, mace, mint, nutmeg or pumpkin pie spice. Use sparingly, start with 1/8 teaspoon for each 2 cups of puree.
- Flavorings to Try — Almond extract, lemon juice, lemon peel, lime juice, lime peel, orange extract, orange juice, orange peel or vanilla extract. Use sparingly, try 1/8 to 1/4 teaspoon for each 2 cups of puree.
- Delicious Additions to Try — Shredded coconut, chopped dates, other dried chopped fruits, granola, miniature marshmallows, chopped nuts, chopped raisins, poppy seeds, sesame seeds or sunflower seeds.
Store sliced pumpkin in the refrigerator for food safety.
- For longer term storage, When storing, pumpkin can be stored for up to 6 months at temperatures of 50 to 55°F in a 50 to 70% relative humidity. Pumpkins and squash deteriorate rapidly if stored below 50°F. Pumpkins that have been exposed to freezing conditions before harvest do not keep well.
- Do not store pumpkin or squash near apples and pears. These fruits give off ethylene gas as they ripen, which causes yellowing of the squash and shortens the storage life.
- For food preservation, pumpkin can be canned in chunks or frozen.