One simple thing could save homeowners money.
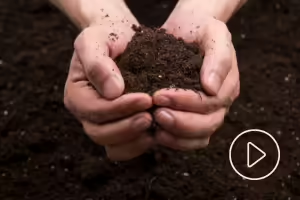
A beautiful yard and garden can bring years of enjoyment. To keep it healthy, you need the right balance of nutrients. A simple soil test provides the road map to building healthy soil so you only apply the nutrients your soil needs. Illinois Extension provides the guidelines for collecting and submitting your soil sample.
Contact your nearest soil lab
- How much is a soil test?
- Do they have any special procedures for you to follow when collecting and sending a sample?
- Do they test for soil contaminates?
Soil contaminates
If you live in an urban or developed area, especially before the mid-1970s, it is recommended you test for soil contaminants such as lead. Ask the soil lab if they offer heavy metal contaminate testing. Contaminate testing is entirely optional and adds considerable cost to the test, but may be worth it to keep you from unnecessary exposure to these heavy metals.
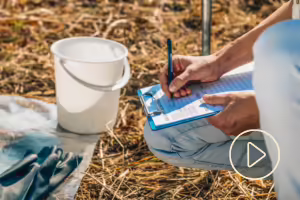
Collect your sample
- The sampled area should be uniform. For example, don't mix lawn soil with vegetable garden soil because those soil are often managed differently.
- You can also separate a problem area in your landscape where plants are not growing as successfully as similar ones in other parts of your yard.
- Send in soil samples of the problem area and healthy area, then compare the results to see if it is soil-related.
- The sample depth should be uniform as well. If you take one subsample at a six-inch depth, make that the target depth for the other subsamples. Sampling depth for lawns should be 4- to 6-inches and 6- to 10-inches for tilled garden beds. Ten subsamples are adequate for home lawns and gardens up to 10,000 square feet.
- General sampling is often the recommended technique to collect your subsamples. General sampling is walking in a zig-zag pattern over the area and randomly gathering subsamples.
- The right tools help. The best tool for the job is a soil probe.
- Simply insert the probe into the soil to the desired depth and pull up which removes a core of soil.
- Place that subsample in a clean bucket.
- Don't have a soil probe? A garden trowel or shovel will also do the trick. Cut out a triangular wedge of soil and set it aside. From the opening go back about ½-inch and slide off a side of the hole you made. With a knife trim the slice to a 1-inch strip (mimicking the soil core you get from a soil probe) and remove any mulch or vegetation from the top.
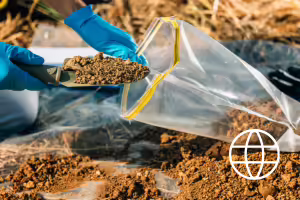
Prepare your sample for mailing
Mix your subsamples and place about one to two cups of the mixture into a plastic bag or a bag provided by the soil lab. Make sure to label your sample with your name, date, and where the sample was taken, such as lawn or vegetable garden.
Read more about soil samples in Chris Enroth's blog.