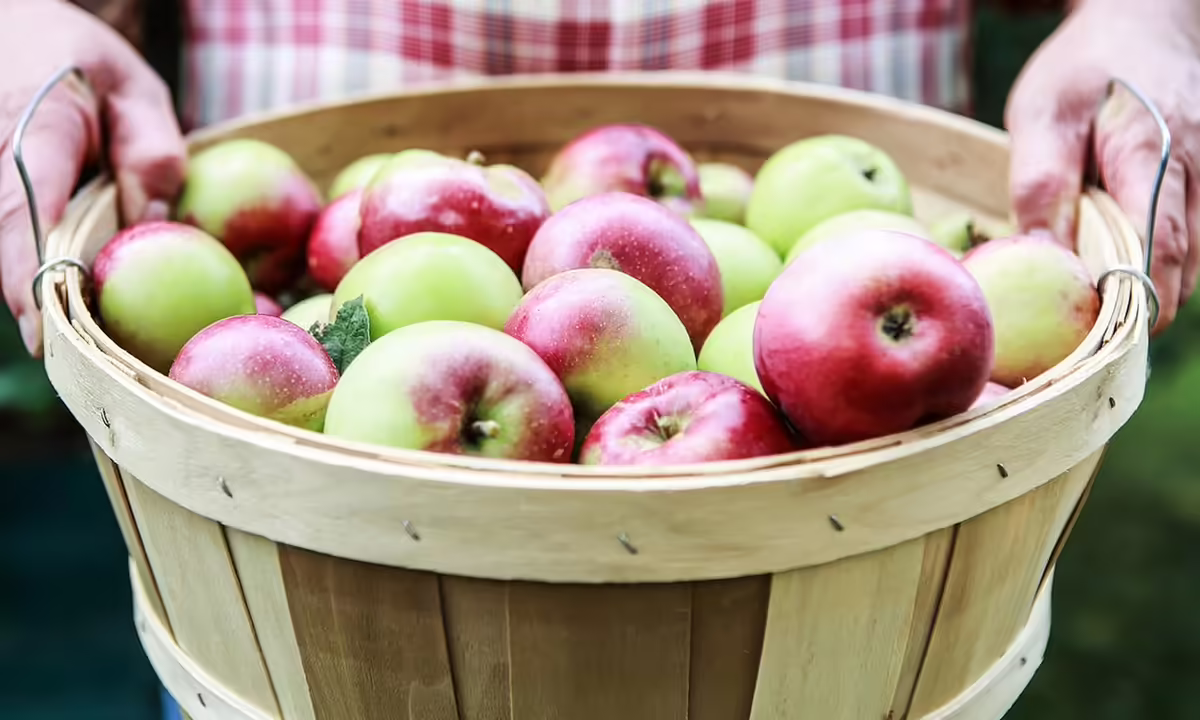
Apples are a versatile, fall-favorite fruit that can be preserved at home in several ways. Dehydrated apples make nutritious snacks, and canned or frozen applesauce or pie filling allows the taste of fall all year round. Apples with blemishes that do not show signs of spoilage work well for making homemade apple cider. Tested recipes for apple relish and chutneys provide safe and savory options for pickling this versatile fruit.
Preparing Apples
Apples can be contaminated by bacteria. Always wash apples with clean, running water before peeling, cutting, or eating. The stem area and blossom end of apples are the most difficult to clean. No soap is required but use a brush if needed to clean off dirt or debris while washing. Remove the stem and leaves. The Food and Drug Administration advises against using fruit and vegetable washes. Once rinsed, cut away any bruised or damaged areas of the apples
Peeling Apples
Make sure all equipment is clean and sanitized. Produce peelers and paring knives are easy to use, portable, and dishwasher-safe. Apple peelers and apple corers can cut the fruit quickly, but be careful of sharp metal spikes and get ready to use some muscle to turn the handle. Follow equipment directions carefully.
Apple Varieties
For best quality, select varieties best suited for the chosen preservation method. Process produce just after harvesting or shortly after purchase. If unable to process fruits and vegetables within 6 to 12 hours of harvest, store them in a cool, dry location to minimize deterioration.
Explore Varieties
Apple Varieties | Canning | Dehydrating | Freezing | Juice & Cider | Pies & Baking | Sauce & Butter |
Ambrosia |
|
| ✓ | ✓ | ✓ | ✓ |
Braeburn | ✓ |
|
|
| ✓ | ✓ |
Cameo |
|
|
| ✓ | ✓ | ✓ |
Cortland | ✓ |
|
|
| ✓ | ✓ |
Empire |
| ✓ | ✓ |
| ✓ | ✓ |
Fuji |
| ✓ | ✓ | ✓ |
| ✓ |
Gala |
| ✓ | ✓ | ✓ |
| ✓ |
Golden Delicious | ✓ |
| ✓ | ✓ | ✓ | ✓ |
Granny Smith | ✓ | ✓ | ✓ | ✓ | ✓ | ✓ |
Gravenstein |
|
| ✓ |
| ✓ | ✓ |
Honeycrisp |
| ✓ | ✓ | ✓ | ✓ | ✓ |
Jazz |
|
|
| ✓ | ✓ | ✓ |
Jonathan | ✓ |
|
|
| ✓ | ✓ |
Jonagold |
|
|
| ✓ | ✓ | ✓ |
McIntosh | ✓ |
| ✓ |
|
| ✓ |
Pink Lady |
|
| ✓ | ✓ | ✓ | ✓ |
Rome Beauty |
|
| ✓ |
|
| ✓ |
Stayman |
|
|
|
|
| ✓ |
Winesap |
|
|
|
|
| ✓ |
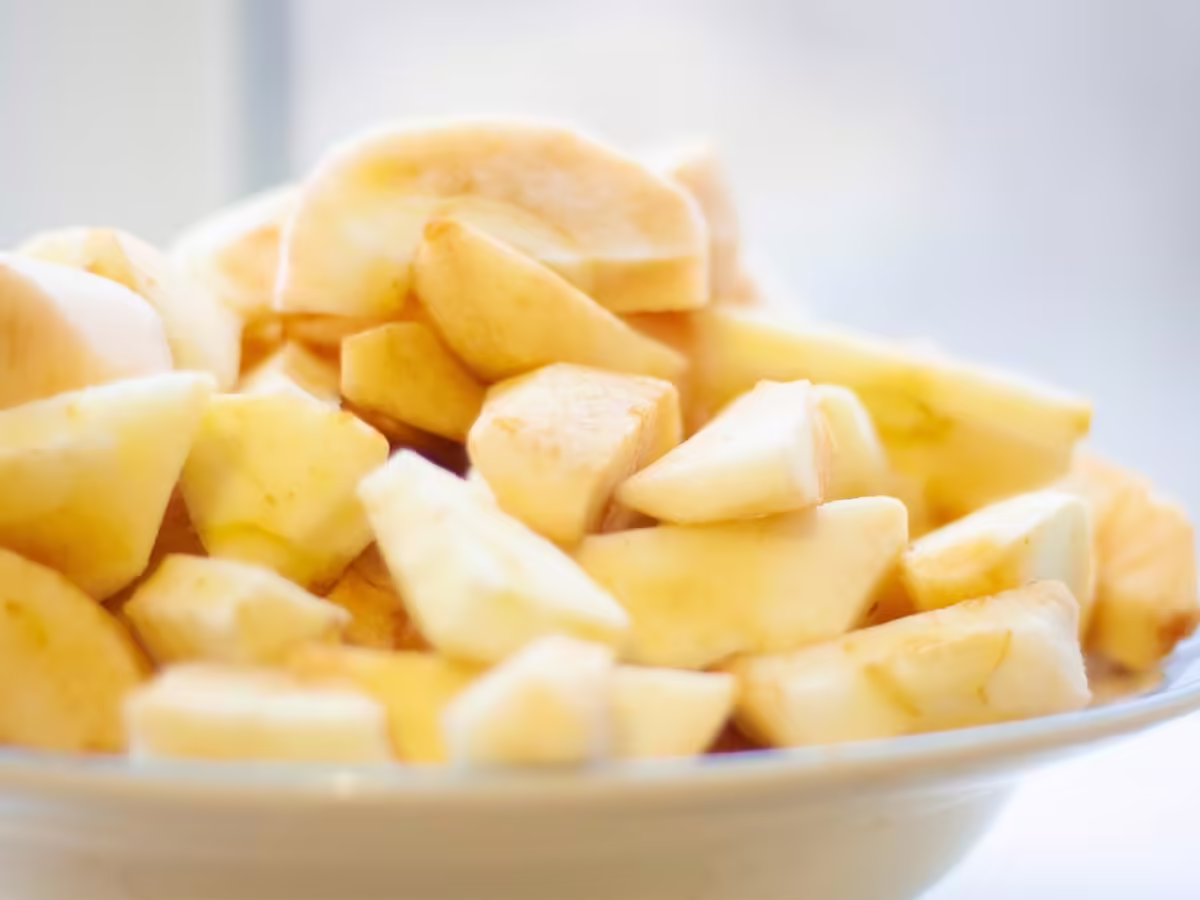
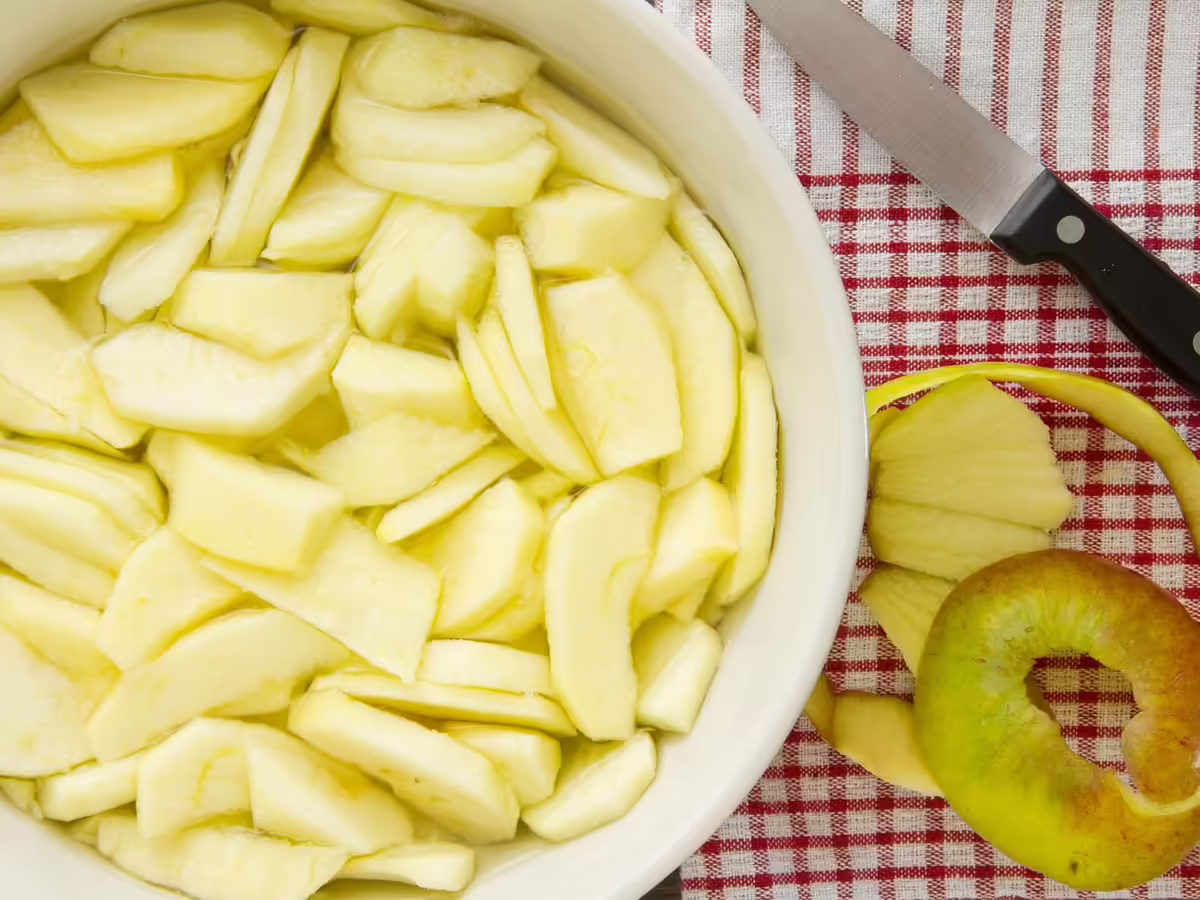
Prevent Discoloration
Cut apples darken quickly when exposed to air. Although browned apples are harmless, they lose their crisp texture. One of several pre-treatment options can help prevent cut apples from browning.
Pretreatment Options
Ascorbic Acid (Vitamin C)
Ascorbic acid is available in powder or tablet form. It is typically found with other food preservation supplies in the grocery store or a drug store. White specks in the tablets are harmless.
Directions
- Mix 1 teaspoon powder (6 crushed tablets) in 2 cups of water.
- Place the cut fruit in the solution for 3 to 5 minutes.
- Remove fruit from the solution and drain.
- Add more acid if the solution has been used to pretreat more than two batches of fruit.
Ascorbic Acid: Commercially Prepared Mixture (Vitamin C)
Commercially prepared mixtures containing Ascorbic acid and sugar can be used for canning and freezing fresh fruit. An example of a commercially prepared mixture is Fruit Fresh™.
Directions
Follow the manufacturer's instructions for use.
Honey Dip
Fruit can be preserved using a honey dip solution. This method adds extra calories to the fruit and is another way to prevent browning.
Directions
- Mix ½ cup sugar with 1-½ cup boiling water.
- Add ½ cup of honey.
- Soak the cut fruit in the solution for 3 to 5 minutes.
- Remove fruit from solution and drain.
Fruit Juice Dip
Fruit juices high in vitamin C can also slow browning. Juices appropriate for this purpose ase orange, grape, cranberry, pineapple, lime, or lemon juice. Different juices will add different colors and flavors to apples. This method will also add extra calories.
Directions
- Combine 3 Tablespoons juice with 1 quart of water.
- Add enough juice to cover the apples.
- Soak the cut fruit in the solution for 3 to 5 minutes.
- Remove the fruit from the solution and drain.
Sodium Bisulfate
Sodium bisulfate is a preservative that can help fruits and vegetables retain color and freshness. Prepared as a fruit dip, sodium bisulfate is the most effective treatment for long term storage of dried apples. Sodium bisulfate can be ordered through a local pharmacy without a prescription.
CAUTION: People with asthma should not use this option to pretreat produce.
Directions
- Add ¾ teaspoons per quart of water.
- Soak apples for 5 minutes in the solution.
- Remove apples from the solution and drain.
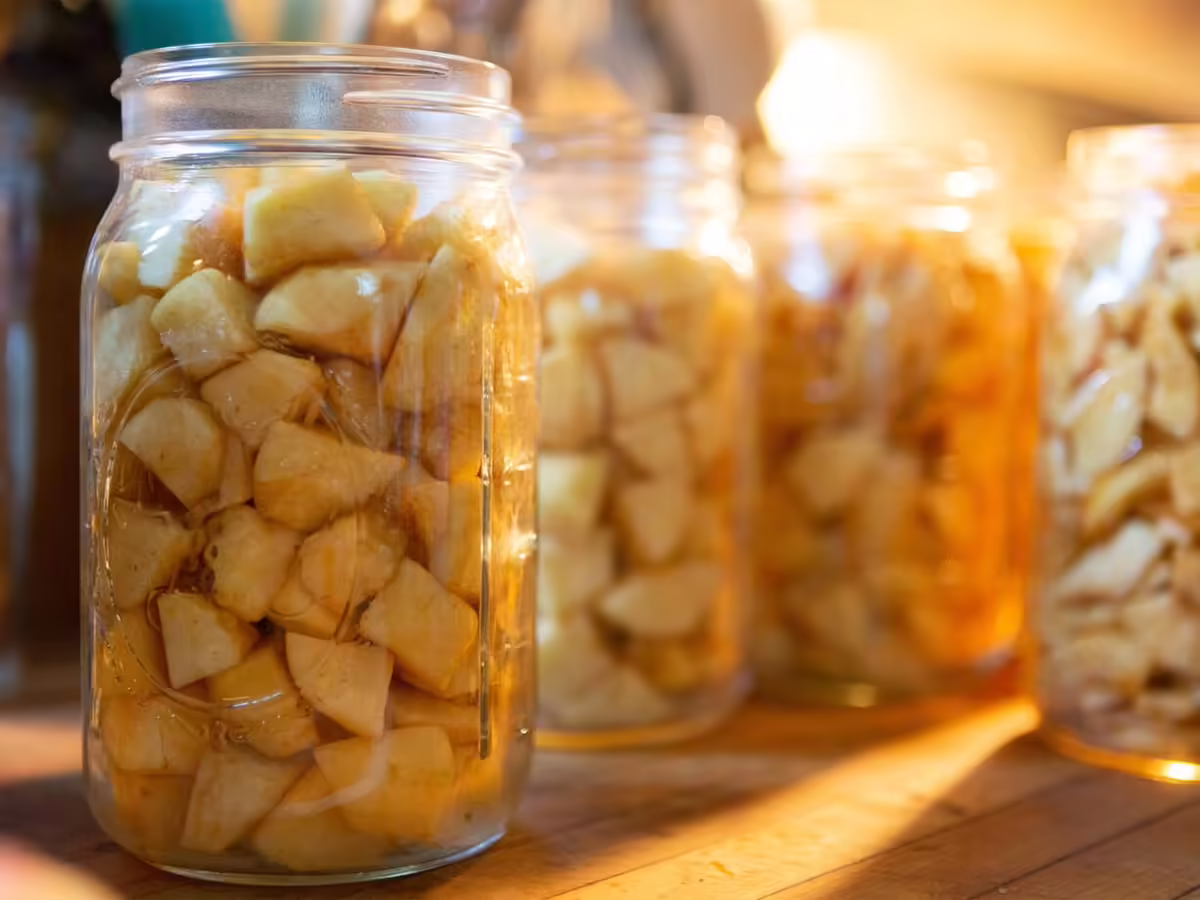
Canning Apples
Like many fruits, apples are an acidic food. They are safe to process by canning using either a boiling-water bath canner or a pressure canner when following a tested recipe. Select crisp, juicy apples of good quality, and find a tasty balance by choosing a mixture of sweet and tart apple varieties. Some recipes, such as those for apple butter or smooth applesauce, require cooking or pressing through a food mill. Other canned apple recipes can include mixed products such as peach apple salsa.
Canning Methods
Boiling-Water Bath Canner
This preservation method uses a pot of boiling water (212°F) for processing filled jars with two-piece lids and is best for acid foods: fruits, jams, jellies, tomatoes or figs with acid added, and pickled or fermented products.
Pressure Canner
Pressure canning is another heat-based preservation method that allows products to reach a high temperature of at least 240°F by using a pressure canner with a dial or weighted gauge. This is best for low-acid foods: meats, vegetables, broth, dried beans, and mixed products.
Unsafe Canning Methods
It is not safe to use unproven methods when canning. Do not use a pressure cooker (different than a pressure canner), electric pressure cooker, microwave, oven, slow cooker, dishwasher, or the sun to preserve canned food.
Open kettle canning is another unsafe method that is outdated and no longer recommended; while jars may seal, the food inside has not been processed in a way that destroys harmful bacteria.
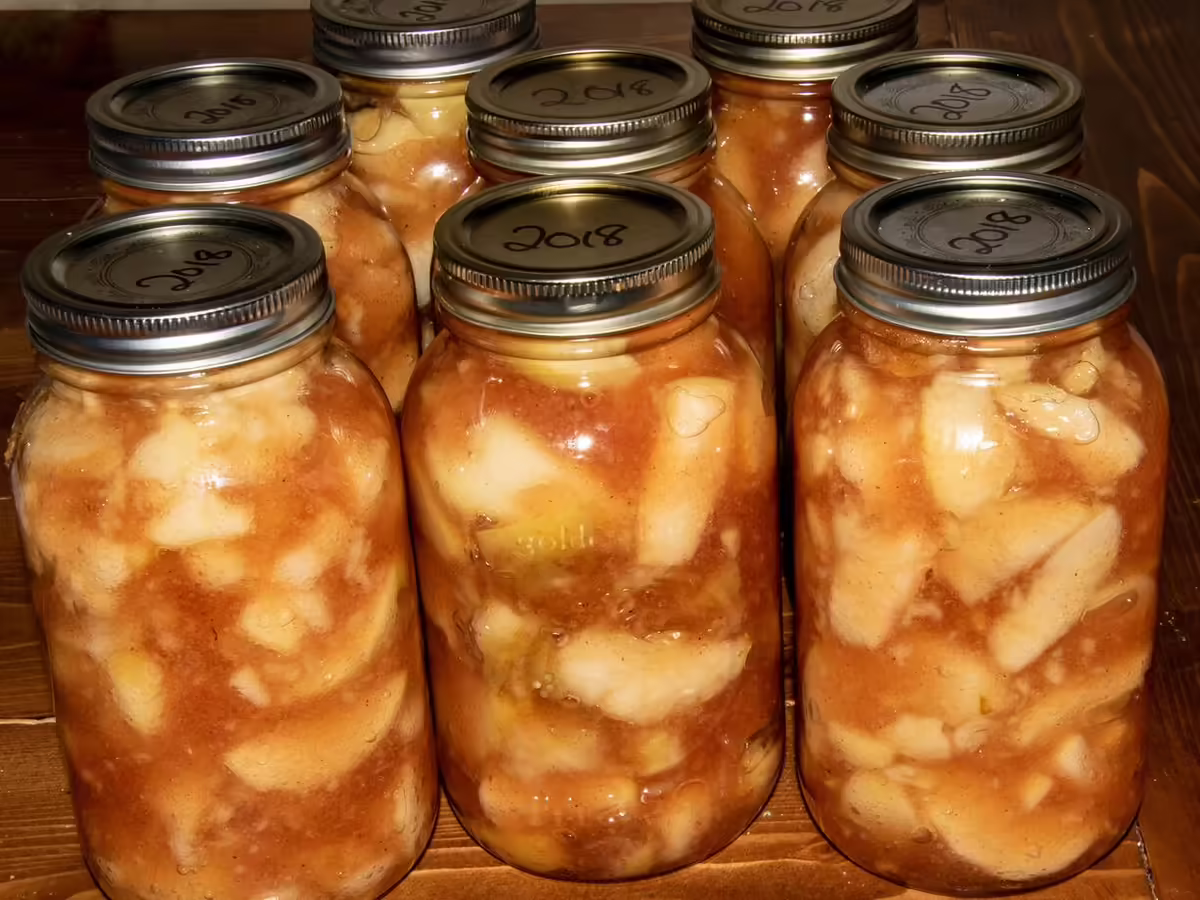
Apple Pie Filling
Apple pie is a year-round favorite for many people. Homemade apple pie filling made from fresh, in-season apples is a safe product to preserve by either water bath canning or freezing. It takes about two pounds of apples, or one quart of canned apple pie filling, to make an 8- to 9-inch apple pie.
Preserve Pie FIlling
Frozen Apple Pie Filling
Tapioca or modified food starch offer more stability in freezing compared to flour and cornstarch. Freeze filling in a foil-lined pie pan. After the filling freezes, fold excess foil edges over the filling and remove it from the pan. Place the foil-wrapped, frozen filling in a plastic freezer bag, and return it to the freezer. The pie pan is then free for other uses. To use frozen filling, remove foil and place the pan-shaped frozen filling into a pastry-lined pan. Bake as usual. Allow an additional 20 to 25 minutes of baking time for the fruit to heat through. This method also works for freezing pie filling in a casserole dish for use as a crisp or cobbler.
Canned Apple Pie Filling
One of the main ingredients used for canning pie filling is Clear Jel®, a flavorless modified corn starch that works as a thickener for canning pie filling. Clear Jel® doesn’t break down through the canning and eventual baking process. Additionally, it can withstand a variety of pH levels. There is not a safe substitute for Clear Jel® when canning pie filling. There are about three cups of Clear Jel® per pound. When preparing to can, do a kitchen inventory to ensure all the supplies and ingredients are available.

Applesauce
Making homemade applesauce is an easy way to preserve apples. It can be processed for canning or freezing safely and can be packed without sugar if desired. For a smoother sauce, run cooked apples through a food mill. Chunky sauce does not require this step.
Start by washing, peeling, coring, and slicing good-quality apples. Pretreat the apple slices and boil them with ½ cup water. Run the cooked apples through a food mill for a smoother sauce; chunky sauce does not require this step.
Browning, siphonage, and mold are common problems when canning applesauce. Browning is caused by cut apples being exposed to air and can occur in various stages of the canning process.
- Surface browning may occur when applesauce has not been heated adequately during processing and too much oxygen is present in the headspace.
- Air bubbles in the sauce may also create browning. Use a bubble freer tool or plastic knife to remove air bubbles from product before sealing.
- Some recipes may call for lemon juice or Ascorbic acid to preserve color and add acidity.
- Headspace is important to allow room for food to expand without disturbing the jar's seal, which could lead to mold. Use a ruler or headspace tool to ensure ½ inch of headspace in each jar.
Freezing Applesauce
Add ascorbic acid, lemon juice, or commercial mixes to improve the color of applesauce. After cooking the sauce, cool it quickly by placing the pot in a sink of cold ice water. Stir and change the water quickly as needed to keep the product cool. The product should be cooled completely before freezing.
- Wipe down the lid to keep the sauce tightly sealed; food residue on the edge or lip of the container could loosen the seal.
- Leave ½ inch of headspace for pint containers and 1 inch of headspace for quart containers.
Canning Applesauce
Canning presents a shelf-stable way to preserve homemade applesauce without taking up valuable freezer space. Follow the ingredients and processing directions for a tested recipe. Safe, tested recipes generally provide recommendations for ways to adjust the ratio of types of apples included to produce a more tart or more sweet sauce.
Apple Cider
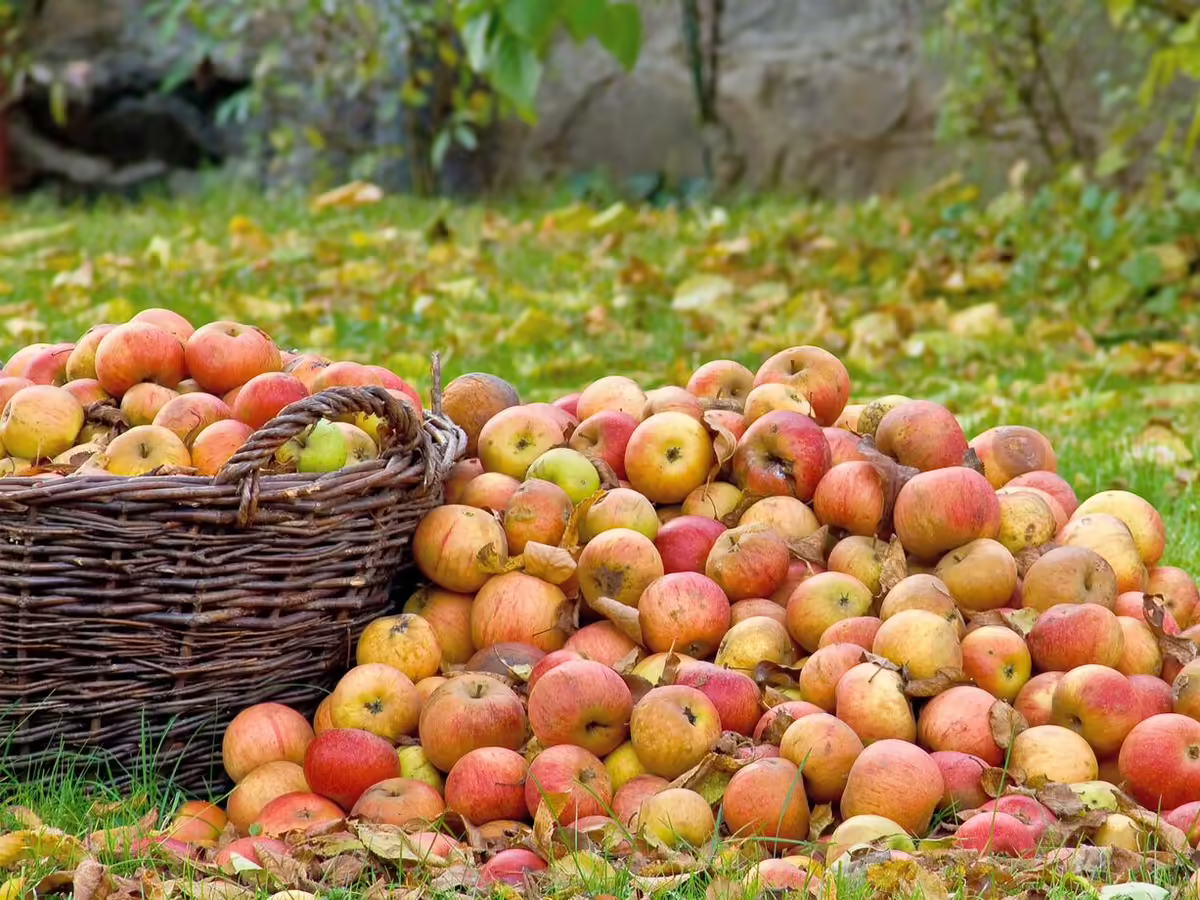
Cider is best made in the fall and winter months when apples naturally have more sugar. One bushel of apples makes 3 gallons of cider. While most apple preservation recipes call for using high-quality fruit, lower-quality apples with blemishes work well for making apple cider. Apples for cider may have surface flaws but must be free from spoilage, which can cause cider to ferment. Signs of spoilage can be a grainy, soft interior and wrinkled skin, along with discoloration and bruising, or mold on the bottom.
To make homemade apple cider, use a tested recipe that calls for heating cider to at least 160 F. to kill bacteria. Unpasteurized, or fresh, cider may contain bacteria that cause illness, such as E. coli or Salmonella.
Wash apples under clean running water. Discard any that are spoiled. Cut and core apples, then crush them to create apple pulp. Process the pulp in a food processor or blender and use a press or cheesecloth after processing to strain the juice. Store heat-treated cider in the refrigerator and use within 5 days. Cider can also be frozen or used as a starter to make apple cider vinegar. Learn more about making cider at home from the National Center for Home Food Preservation.
Apple Cider Vinegar
Apple cider vinegar is made by fermenting apple cider. Do not use homemade apple cider vinegar for canning. It does not have the same controlled acidity level as store-bought apple cider vinegar and can result in an unsafe finished product.
Step 1: Make a Vinegar Starter
Crumble one yeast cake into one quart of cider, which is enough starter to yield 5 finished gallons of cider. To increase the recipe, maintain an equal ratio of yeast cake to cider.
Step 2: Fermentation
The fermentation process is necessary to convert sugars in the cider to ethanol, then to acetic acid. Fermenting vinegar forms a jelly-like layer called the "mother of vinegar." Store the mother in a small amount of the newly made apple cider vinegar in a food-safe, closed container at room temperature.
- Pour cider into one or more containers to about three-fourths full; do not close the lids on the containers.
- Stir the mixture daily, keep containers away from direct sunlight, and maintain a temperature between 60 to 80 F.
- Full fermentation takes 3 to 4 weeks. Near the end of this period, you should notice a vinegar-like smell.
- Taste samples daily until the product reaches the desired strength.
Step 3: Filter and Pasteurize
Filtering removes the mother of vinegar, preventing further fermentation or product spoilage. After vinegar is fermented to a desired strength, filter it through several layers of fine cheesecloth, filter paper, or coffee filters.
Using a food thermometer for accuracy, heat the vinegar to at least 140 F. to pasteurize; do not exceed 160 F. Sterilize the empty bottles in which the vinegar will be stored and let them cool completely before adding the vinegar.
Step 4: Storage
Store homemade apple cider vinegar in separate, capped containers out of direct sunlight. Stored vinegar will stay in excellent condition indefinitely if it is pasteurized.
Do not use homemade apple cider vinegar for canning. It does not have the same controlled acidity level as store-bought apple cider vinegar and can result in an unsafe finished product.
Freezing Apples
Freezing is one of the least expensive ways to preserve apples and prevent the loss of quality fruit. Select full-flavored apples that are crisp and firm, not mealy in texture. Peel, core, and slice apples. If using large apples, slice into twelve or sixteen slices.
Prepare to Freeze
Most fruit will have better texture and flavor if packed in sugar or syrup, but sugar is not necessary to safely preserve fruit by freezing. If you intend to pack fruit in sugar or syrup, choose the type of packing method that best fits your intended use. Treat for browning by using Ascorbic acid, fruit juice dip, or other practices discussed.
Syrup Pack
Sugar syrups can be made by dissolving sugar in water completely and pouring it around and over fruit in the packed container. This method will also add extra calories.
Directions
- Slice apples directly into syrup in the container, starting with ½ cup syrup in each pint container.
- To prevent browning, add ½ teaspoon (1500 mg) Ascorbic acid to each quart of syrup, Ascorbic acid mixture, or lemon juice.
- Press fruit down in containers and add enough syrup to cover leaving 1 inch of headspace.
- Place a small piece of crumpled, water-resistant paper on top to hold fruit down.
- Seal and freeze.
Sugar Pack
Simply sprinkle sugar over fruit and mix gently until the juice is drawn out and the sugar has dissolved.
Dry Pack
Treated apple slices can also be frozen on a tray and then packed into containers as soon as they are frozen.
- Pack into Containers: Allow ½ inch of headspace.
- Pack into Freezer Bags: Place frozen apples into freezer bags and press out excess air. Label, seal, and freeze.
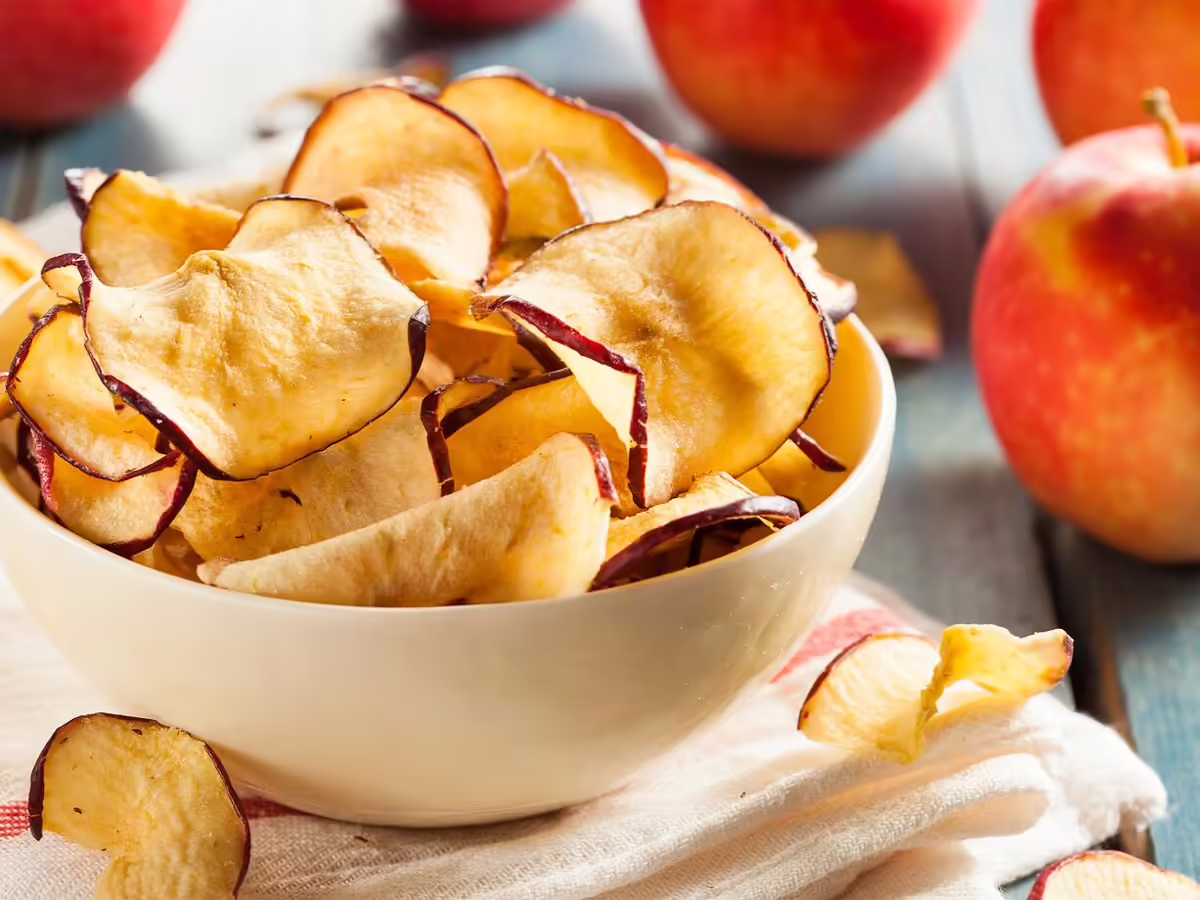
Drying Apples
Adequately drying apples in the oven can take up to 25 hours. Fruit does not dry evenly in a microwave and can easily scorch and burn. Apples are a good candidate for sun drying in the correct environment but require a minimum temperature of 85°F and humidity less than 60%. In Illinois, sun drying is not recommended. Select mature, firm apple varieties such as gala, honey crisp, granny smith, or fuji apples.
Prepare Apples for Drying
Peeled apples dry faster. Wash well, pare, if desired, and core. Apples can be dehydrated in rings, ¼ to ½-inch thick slices, in quarters, or in eighths.
- Pretreat apples in Ascorbic acid or an antidarkening/ antimicrobial solution for 10 minutes. Remove from the solution and drain well.
- Sodium bisulfite or sulfite dips are the most effective against browning for long term storage of dried apples but cannot be used for people with asthma.
- Blanching apples or using Ascorbic acid dips are useful for short-term storage. You can choose not to pretreat, but apples will continue to brown during and after drying and may affect flavor and vitamins in the fruit.
Conditioning Apples
Apples should have a water content of around 20% when dried. Since not all pieces will have the same amount of moisture, condition the fruit by placing cool, dried fruit in a jar, sealing the container, and shaking daily for 7 to 10 days. If condensation develops, return the fruit to the dehydrator for further drying.
Storing Dehydrated Apples
Keep dehydrated apples in a cool, dry place for up to one year for best quality. For longer storage, place dried apples in a freezer-safe bag or container and use within 2 years for best quality. Applesauce may be dried by itself or in combination with other fruit purees to make fruit leather. Dehydrated fruits are great snacks and can be chopped and used in breads and salads. You may reconstitute dried apples by boiling and soaking.
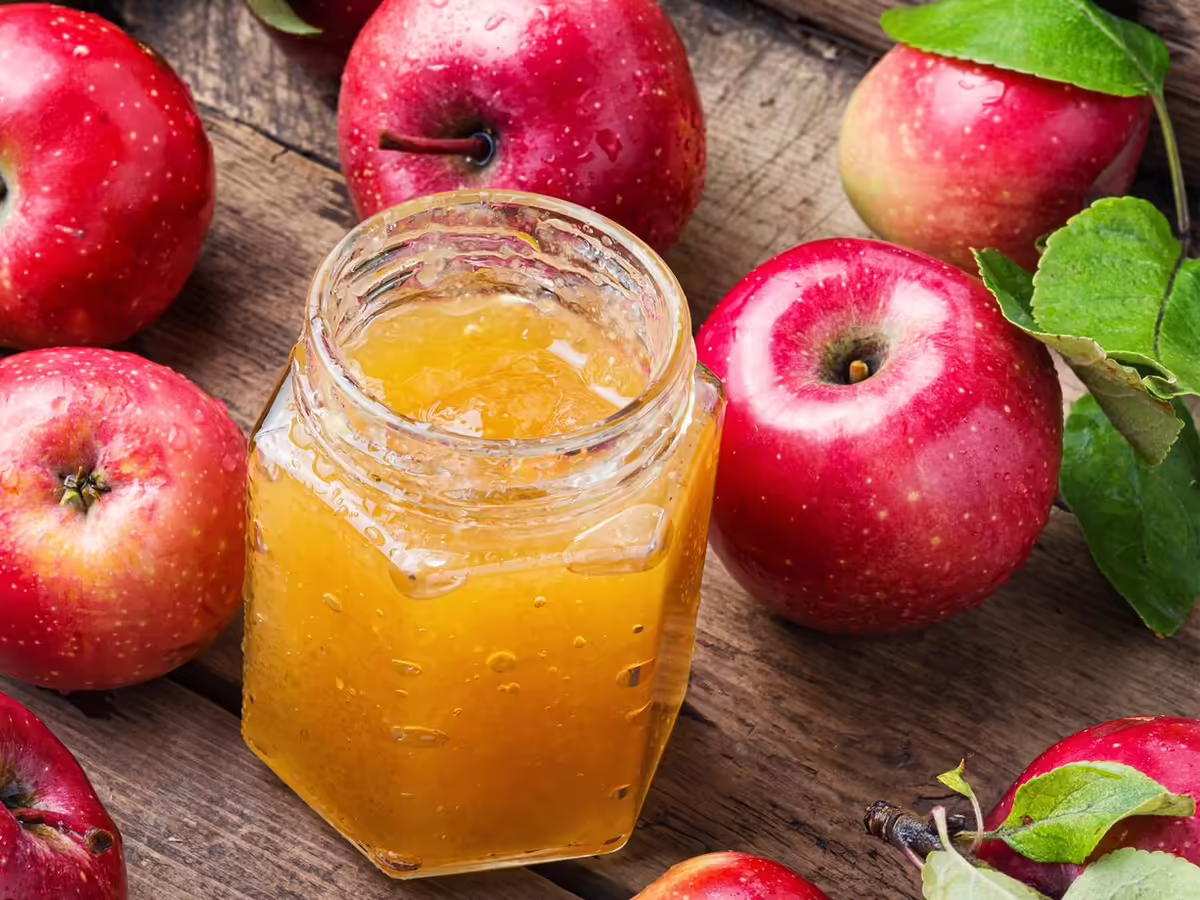
Apple Jelly
Apple jelly can be made without pectin, a natural gelling ingredient. When making apple jelly, sort, wash, and remove apple stem and blossom ends. Do not peel or core the apples though, as naturally occurring pectin resides in the peel and cores. Apple jelly requires sterilized jars because it is processed in a water bath canner for less than 10 minutes. Always check for headspace when canning.