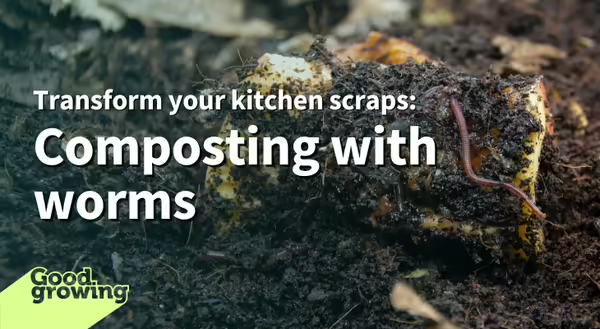
Has this cold, dreary weather been making you wish you could get outside and play in the ‘dirt’? Or perhaps you’re looking for ways to improve your garden soil during the winter. Worm composting, or vermicomposting, is a good way to accomplish both of these. In addition to producing compost, it’s also a great way to put those kitchen scraps to use.
What is vermicomposting?
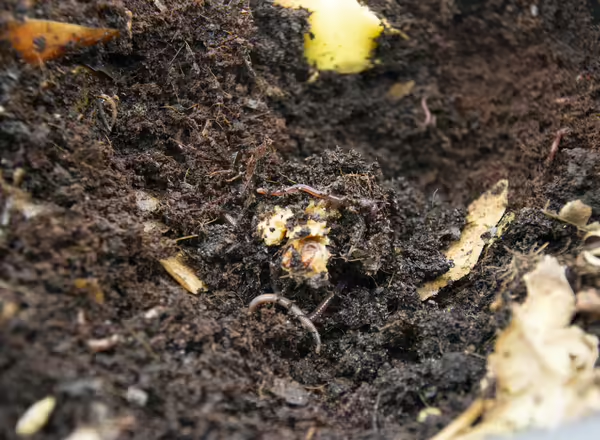
Vermicomposting uses various species of worms, typically red wigglers (Eisenia fetida), to decompose organic waste such as food scraps. As worms eat, they produce castings, aka worm compost, vermicompost, or worm manure. Castings are small, dark clumps that can be used as a soil amendment. It is also a great option for winter composting when our outside pile has become dormant.
Getting started with vermicomposting
Getting started with vermicomposting is relatively easy to do. There are a variety of kits that can be purchased, or you can make your own. All you need to make your own vermicomposting bin is a plastic storage bin (worms don’t like light, so do not use a clear container) with holes drilled in the sides. A 10-gallon bin is a good size to start with. Drill ½ inch holes in the sides of the bin and lid so the worms can breathe. Then, cover the holes with window screening so they don’t escape.
A bedding material will need to be added to your bin. The bedding should be a nontoxic material that holds moisture but also allows air to circulate. Some materials that can be used include newspaper (make sure not to use glossy paper), paper bags, cardboard, decaying leaves, or coconut coir. If using paper, tear it into half-inch-wide strips and soak in water for several minutes. Then remove the paper and wring it out; it should be slightly wetter than a moist sponge (this goes for any bedding material you may be using). Fluff the paper up and fill the bin halfway.
The worms will eat the bedding, so more will need to be added over time. Keep the bedding moist; using a plant mister is a good way to do this. Finally, add a handful of soil to the newspaper. This will introduce microorganisms that will aid in the composting process.

Adding and feeding your worms
Once your bin is set up, it’s time to add some worms. Red wigglers are widely considered the best worms to use. They burrow horizontally and stay near the soil surface, only burrowing 3-8 inches deep. The worms you typically find in the garden or after a good rainstorm, like night crawlers, burrow deep into the soil and are not good for vermicomposting indoors. You will need around a pound of worms (about 1,000) for your bin.
Worms will eat almost any fruit and vegetable scrap you give them, such as apples, bananas, carrots, coffee grounds, and even eggshells (avoid citrus, though). Do not feed your worms meat, dairy products, or oily foods. They won’t eat them, and the food will spoil.
When adding food to your bin, use small pieces; the worms will break them down faster and rotate where you place the food around the bin so it is distributed throughout the bin. It’s also helpful to bury the food in the bedding; this gives the worms better access to the food and can help prevent fruit flies from getting into the bin. Covering food with damp paper bedding can also help to prevent fruit flies. Feed your worms as needed; once established, red wigglers can eat up to half their weight in food daily.
Harvesting your worm compost, aka castings
After a few months, you should have some worm compost to harvest. Several methods can be used to harvest worm compost:
- With the divide and sort method, stop feeding the worms, move the old bedding to one side of the bin, and add fresh bedding and food to the other. The worms will move to the new bedding, and you can harvest your compost.
- Dump the bin onto a plastic sheet and place a bright light over it. The worms will try to get away from the light and burrow to the bottom of the pile. Once they have moved the compost from the top and sides of the pile can be harvested.
- Stop feeding the worms; eventually, they will die, and you can harvest your compost.
Once you have your new compost, it can be used in potting soil for your houseplants, outdoor plants, or vegetable garden. It can also be stored in an airtight container to be used later and can last up to six months or more when properly stored (dark, moist but not wet, and avoid temperature fluctuations).
Good Growing Fact of the Week: According to the LSU AgCenter, Worm castings have a nitrogen, phosphorus, and potassium (NPK) ratio of 1-0-0 to 5-5-3 and are rich in micronutrients, containing iron, sulfur, magnesium, zinc, copper, and calcium. The levels vary depending on what the worms were feeding on.
Want to get notified when new Good Growing posts are available? SIGN ME UP!
Give us feedback! How helpful was this information (click one): Very helpful | Somewhat helpful | Not very helpful
MEET THE AUTHOR
Ken Johnson is a Horticulture Educator with University of Illinois Extension, serving Calhoun, Cass, Greene, Morgan, and Scott counties since 2013. Ken provides horticulture programming with an emphasis on fruit and vegetable production, pest management, and beneficial insects. Through his programming, he aims to increase backyard food production and foster a greater appreciation of insects