There are many different stories as to how we came to celebrate St. Valentine. Some stories say Valentine was a priest that secretly wed young couples. Others say he helped Christians escape prisons before being imprisoned himself. Before being put to death, he wrote a love letter and signed it “From your Valentine,” which is still used to this day.
Regardless of how St. Valentine came to be, Valentine’s Day is a day for celebrating love. A variety of different gifts are given on Valentine’s Day. Among the most popular are plants and cards. If you (or your kids or gandkids) are looking to do something a little different this year, combine these two popular gifts into one and make a seed paper card.
What you’ll need
- Shredded paper (most kinds of paper will do, make sure it’s not glossy)
- Food coloring (optional)
- Bowl of water
- Blender or food processor
- Strainer
- Old towels
- Seeds – can be flowers, herbs, or even small vegetables
- Cookie cutters (optional)
- Paint, crayons, markers, etc. to decorate your card (optional)
How to make your seed card
- Shred your paper into small pieces. This paper can be new or scrap paper. Once shredded, place it in your bowl of water to soak for about an hour.
- Place your soaked paper in your blender or food processor. Then fill your container halfway up with the water you soaked your paper in. Blend until you get a mushy pulp; if it’s not blending well, add more water. If you’re using white paper and what to add some color, now’s the time to add food coloring.
- Remove your pulp and place it in a strainer to get rid of some of the excess moisture. If you get rid of too much water, it may be difficult to spread your pulp, so don’t go overboard.
- Place towels on a flat surface and place pulp on top of towels. Remove your pulp from the strainer and spread it out over towels. If you’re having a hard time getting your paper as thin as you would like, use a rolling pin.
- Once you have your pulp spread to your desired thickness (the thicker it is, the longer it will take to dry), sprinkle your seeds on top and gently press them into the surface.
- Leave your paper to dry for at least 24 hours.
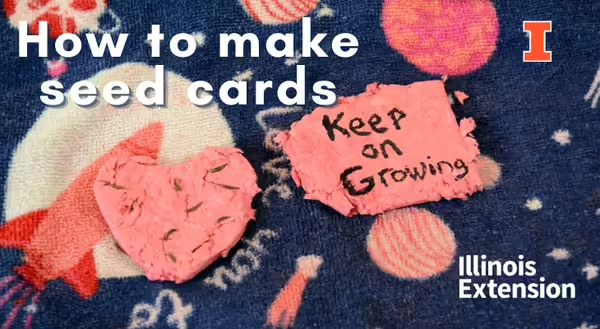
- Once your paper is dry, it’s time to decorate! You can use your cards as is, or you can use cookie cutters to trace shapes and then cut them out. Once you have your cards are ready to be decorated, flip them over (seed side will now face down) and channel your, or your kids, inner artist and decorate those cards.
Planting your card
Once your cards are decorated, they’re ready to be handed out and planted. When it’s time to plant the card, it can be planted whole or shredded to cover a larger area. Lay the paper on the soil or potting-mix seed side up, and cover it with soil. Water as needed, and soon you’ll have sprouts emerging.
Whether it is for a special celebration or ‘just because,’ seed cards can be made and shared any time of the year. This is also a good use for any flower seeds you may collect from your garden in the fall.
Good Growing Tip of the Week: Different seeds have different planting requirements. It may be helpful to include planting information with your cards; you can find this information on the seed packet.
Want to 'see' how to make one? Check out his video.
Sign up for our emails! Want to get notified when new Good Growing posts are available? SIGN ME UP
Give us feedback! How helpful was this information (click one): Very helpful | Somewhat helpful | Not very helpful
MEET THE AUTHOR
Ken Johnson is a Horticulture Educator with University of Illinois Extension, serving Calhoun, Cass, Greene, Morgan, and Scott counties since 2013. Ken provides horticulture programming with an emphasis on fruit and vegetable production, pest management, and beneficial insects. Through his programming, he aims to increase backyard food production and foster a greater appreciation of insects.