Gardeners Corner
Goodbye to Gardeners Corner
As seasons change, so do the ways gardening skills are shared. After years of the quarterly Gardeners Corner issue straight to inboxes, the Illinois Extension publication ended releasing new editions in summer 2025.
Ready to keep growing? Subscribe to the statewide horticulture list to stay in the loop with everything Extension gardening and horticulture, including updates on programs and topics exploring landscaping, houseplants, vegetable gardens, and more.
Gardeners Corner Summer 2025
In this issue
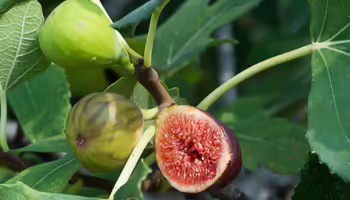
- Go figure, figs are a great addition to home gardens
- Mix it up smart with wildflowers
- Wild ginger: A native groundcover for shady gardens
- Managing pests in the garden
- Provide resources to pollinators in any space with container gardens
- Prevent, protect zinnias from powdery mildew
- Tips for getting landscape plants through summer
- Don’t be stumped by tree problems
- Want more from your garden? Plant a fall crop of cucumbers
- Grow successful made in the shade gardens
- Goodbye to Gardeners Corner

Gardeners Corner Spring 2025
In this issue
- Get a jump start on spring by starting seeds at home
- Gardening inside with houseplants
- From seed catalogs to garden: picking the right tomato seeds
- Rotating crops for a more resilient garden
- Explore 2025 All-America Selection plant, flower award winners
- Root awakening: spring tree tips
- A layered landscape provides space for wildlife all year
- Keeping outside pests off indoor plants
Gardeners Corner Winter 2024
In this issue
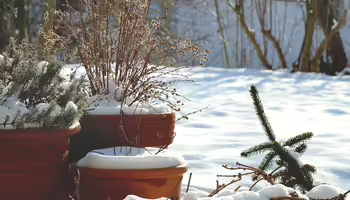
- Overwintering potted plants
- Add these garden tools to holiday wish lists
- Candy jar terrariums: A nostalgic take on a holiday gift
- Sugar and spice make everything nice
- Protect your pets: Keep paws off overwintering indoor plants
- Indoor gardening can brighten winter doldrums
- From one to many: A beginner's guide to plant propagation
Gardeners Corner Fall 2024
In this issue
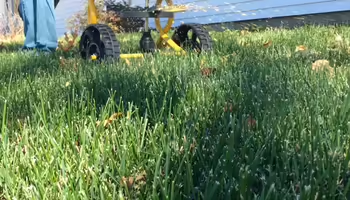
- Five fall tips for cool-season lawn care
- Making a fall gardening checklist
- Pesticide Pitfalls: Common Misuses and What to Do If You've Made a Mistake
- Garden into fall with tips, plants built for seasonal design
- Stretch out the growing season with fall planted salad greens
- Consider plants with winter interest in landscapes
- The quest of growing wonderberries
Gardeners Corner Fall 2024
In this issue
- Five fall tips for cool-season lawn care
- Making a fall gardening checklist
- Pesticide Pitfalls: Common Misuses and What to Do If You've Made a Mistake
- Garden into fall with tips, plants built for seasonal design
- Stretch out the growing season with fall planted salad greens
- Consider plants with winter interest in landscapes
- The quest of growing wonderberries
Gardeners Corner Summer 2024
In this issue
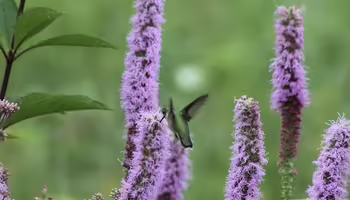
- Gardening for a hummingbird's travels
- Provide resources to pollinators in any space with container gardens
- To survive the summer heat, choose plants built for the sizzle
- Tips for getting landscape plants through summer
- Bring birds close to home by gardening for feathered friends
- Protect trees and their roots during construction projects
- Consider adding periodical cicadas to summer list of favorite ice cream toppings
Gardeners Corner Spring 2024
In this issue
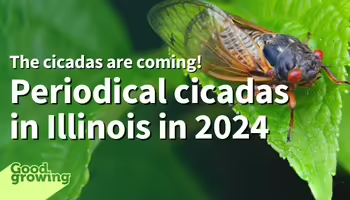
- The cicadas are coming! Periodical cicadas in Illinois in 2024
- Explore the 2024 All-America Selection flower and vegetable variety winners
- Spring into composting by reviving a compost pile after winter
- Discover added benefits to planting windbreaks
- Six replacement trees for invasive Callery pear
- Add a dash of herbs to spice up floral bouquets
- Recognizing heat-related warning signs for gardeners and landscapers
Gardeners Corner Winter 2023-24
In this issue
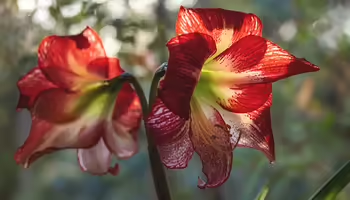
- Bloom in the winter with gift of amaryllis bulb kit
- Protect your pets: Keep paws off overwintering indoor plants
- Cutting back branches leaves trees with healthier outlook
- Did you forget to water your plants? Try low-maintenance succulents
- Use weed clues to dig up environmental issues like fertility, soil compaction, moisture issues
Gardeners Corner Fall 2023
In this issue
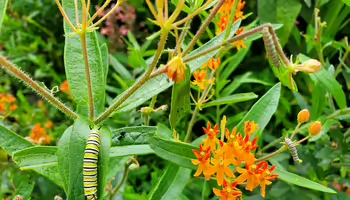
- Butterflies can eat to live, live to eat in a balanced garden
- Ideas for youth to explore and connect with nature
- Reap the benefits of intergenerational gardening
- Build drought-tolerant gardens this fall for next summer’s blooms
- Tips for extending the garden’s growing season
- Consider pollinators during fall garden cleanup
- Keep growing with herbs indoors this fall, winter
- Don’t dump Halloween pumpkins, donate or compost them